Introduction
Learn how to program in 3D computer graphics in the Python programming language!

Approach
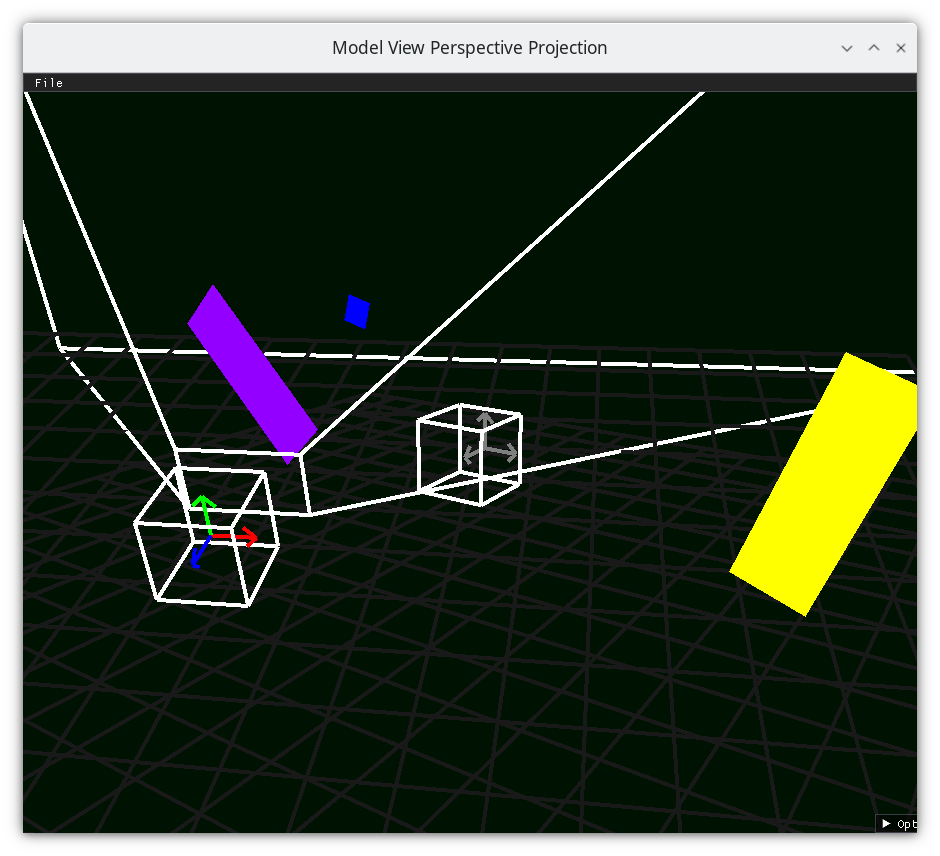
You’ll learn how to place geometric objects in space, draw them relative to other geometric objects, position a camera in space which moves over time based on user input, and transform all those objects into the 2D pixel coordinates of your screen. By the end, you’ll understand the foundations of creating first-person and third-person applications or games. The goal? To empower you to build the graphics programs you want, using math you mostly already know.
This book intentionally keeps things simple intended for beginners. In this book, the applications created won’t be particularly pretty or realistic-looking. After reading this book, for more advanced topics, you’ll want to dive into other references, such as
Things You Should Know
Basic programming concepts in Python.
YouTube videos
Books
High school Geometry
[CHK+12]
Required Software
You will need to install Python, and make a virtual environment. You can search how to do this using a search engine, or AI Chatbot, or follow the instructions below.
Windows
On Windows, install Visual Studio and the Python extension. Afterwards, to set up the virtual environment, open the Developer Command Prompt,
python -m venv venv
cd venv\Scripts
activate.bat
cd ..\..\
python -m pip install --upgrade pip setuptools
python -m pip install -e .
The book assumes that you’ll use the Spyder Integrated Development Environment (IDE), to install Spyder
python -m pip install spyder
To run the Spyder Integrated Development Environment (IDE) to execute the code in the book, open Spyder on the Developer Command Prompt
cd venv\Scripts
activate.bat
cd ..\..\
spyder -p .
Linux
Install Python3, glfw via a package manager. Use pip and virtualenv to install dependencies
To set up the environment in a terminal, execute
python3 -m venv venv
source venv/bin/activate
python3 -m pip install --upgrade pip setuptools
python3 -m pip install -e .
The book assumes that you’ll use the Spyder Integrated Development Environment (IDE), to install Spyder
python -m pip install spyder
To run the Spyder IDE to execute the code in the book, open Spyder on the developer command prompt
source venv/bin/activate
spyder -p .
Mac
Install Python3 (via anaconda, homebrew, macports, whatever), and use pip and virtualenv to install dependencies.
On MacOS, to set up the environment in a terminal, execute
python3 -m venv venv
source venv/bin/activate
python3 -m pip install --upgrade pip setuptools
python3 -m pip install -e .
The book assumes that you’ll use the Spyder Integrated Development Environment (IDE), to install Spyder
python -m pip install spyder
To run the Spyder IDE to execute the code in the book, open Spyder on the developer command prompt
source venv/bin/activate
spyder -p .
Podman Container
The code is mainly tested against a container in Podman, specified in the Dockerfile.
Command Line
To run the code from the command line, run the following to create the podman image
make image
Once that is made, you can run the image in a container by running
make shell # get a shell into the environment
Once in the shell, to run jupyter
/usr/local/bin/jupyter.sh
Once in the shell, to run Spyder
/usr/local/bin/spyder.sh
Getting the Source code
This book references source code, which is at https://github.com/billsix/modelviewprojection
This documentation was generated from from commit 779a17d46b891c515345d4364047abfde9242f95